
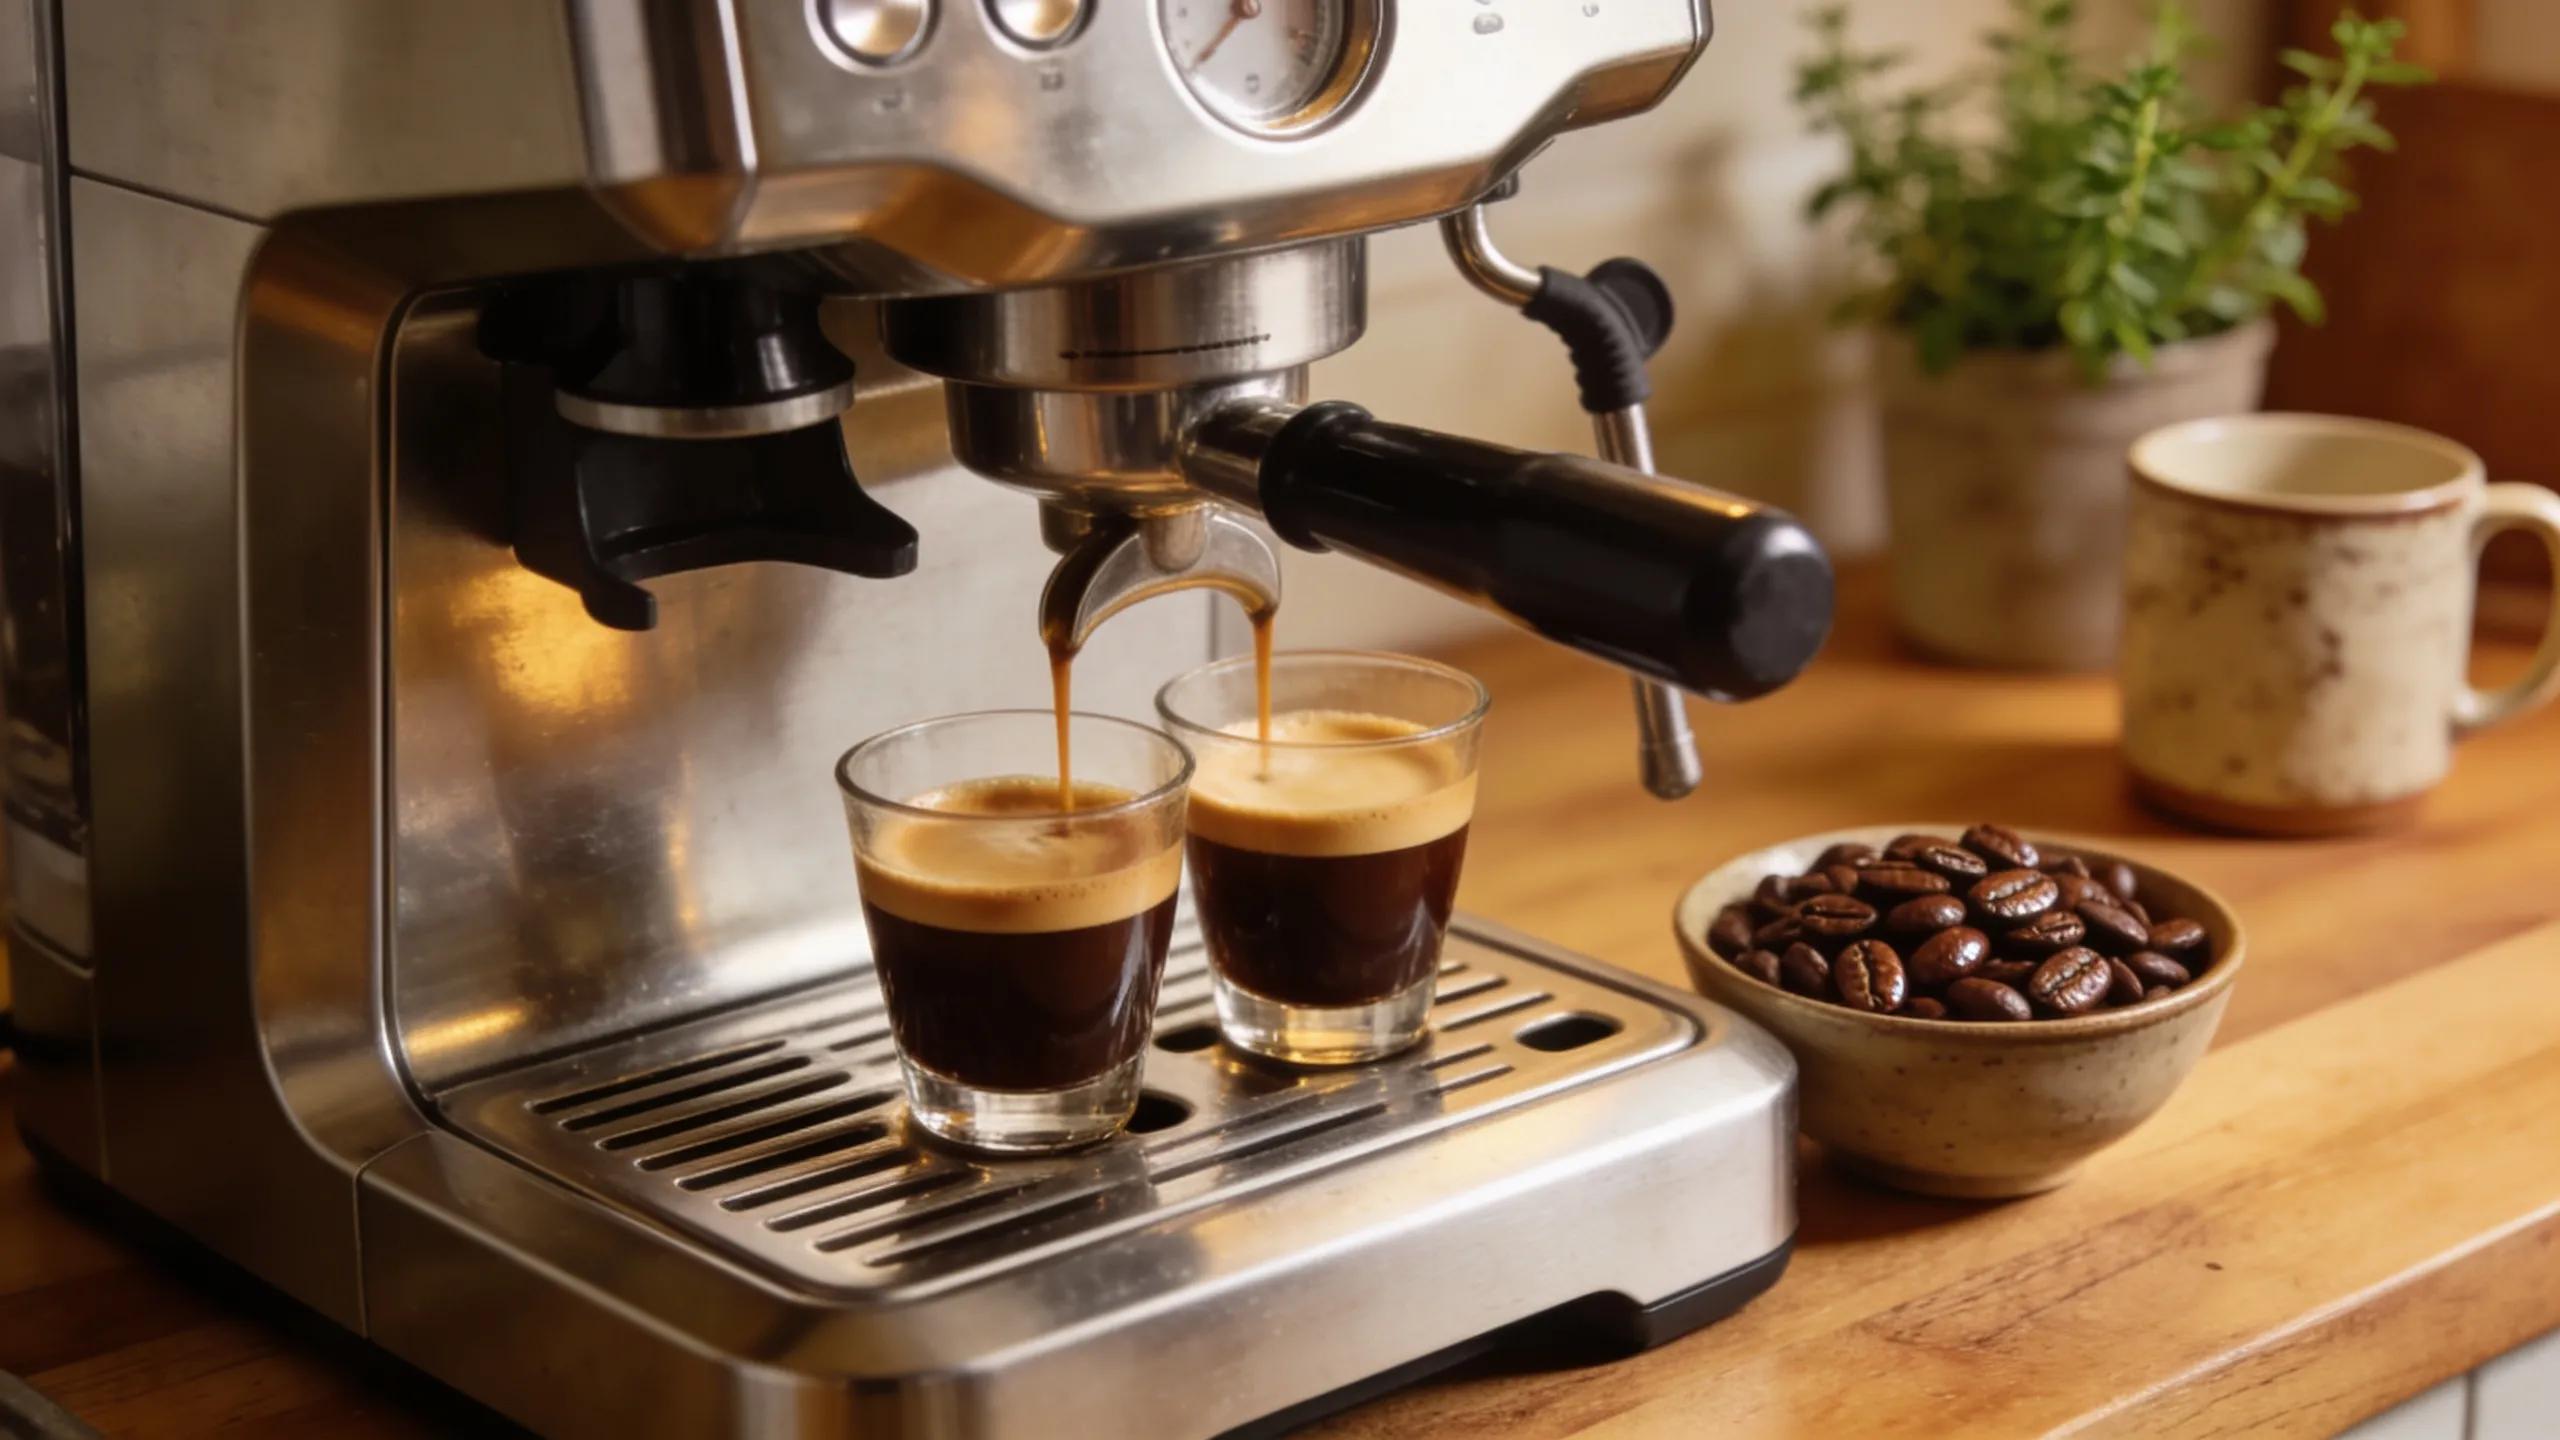
Espresso machines power café-quality coffee at home, but what are the most common problems users face with espresso machines—and how can you fix them quickly to restore rich crema and balanced flavor? In this guide, you’ll discover seven core troubleshooting clusters covering heating failures, pressure loss, water leaks, grinder jams, flow restrictions, descaling protocols, and decision points for professional repair or replacement. Each section defines the issue, explains underlying mechanisms, delivers step-by-step remedies, and closes with preventative measures. Whether you own a Breville, DeLonghi, Gaggia, or Miele model, these expert insights will optimize extraction performance and extend machine longevity.
Why Is My Espresso Machine Not Heating? Causes and Step-by-Step Solutions
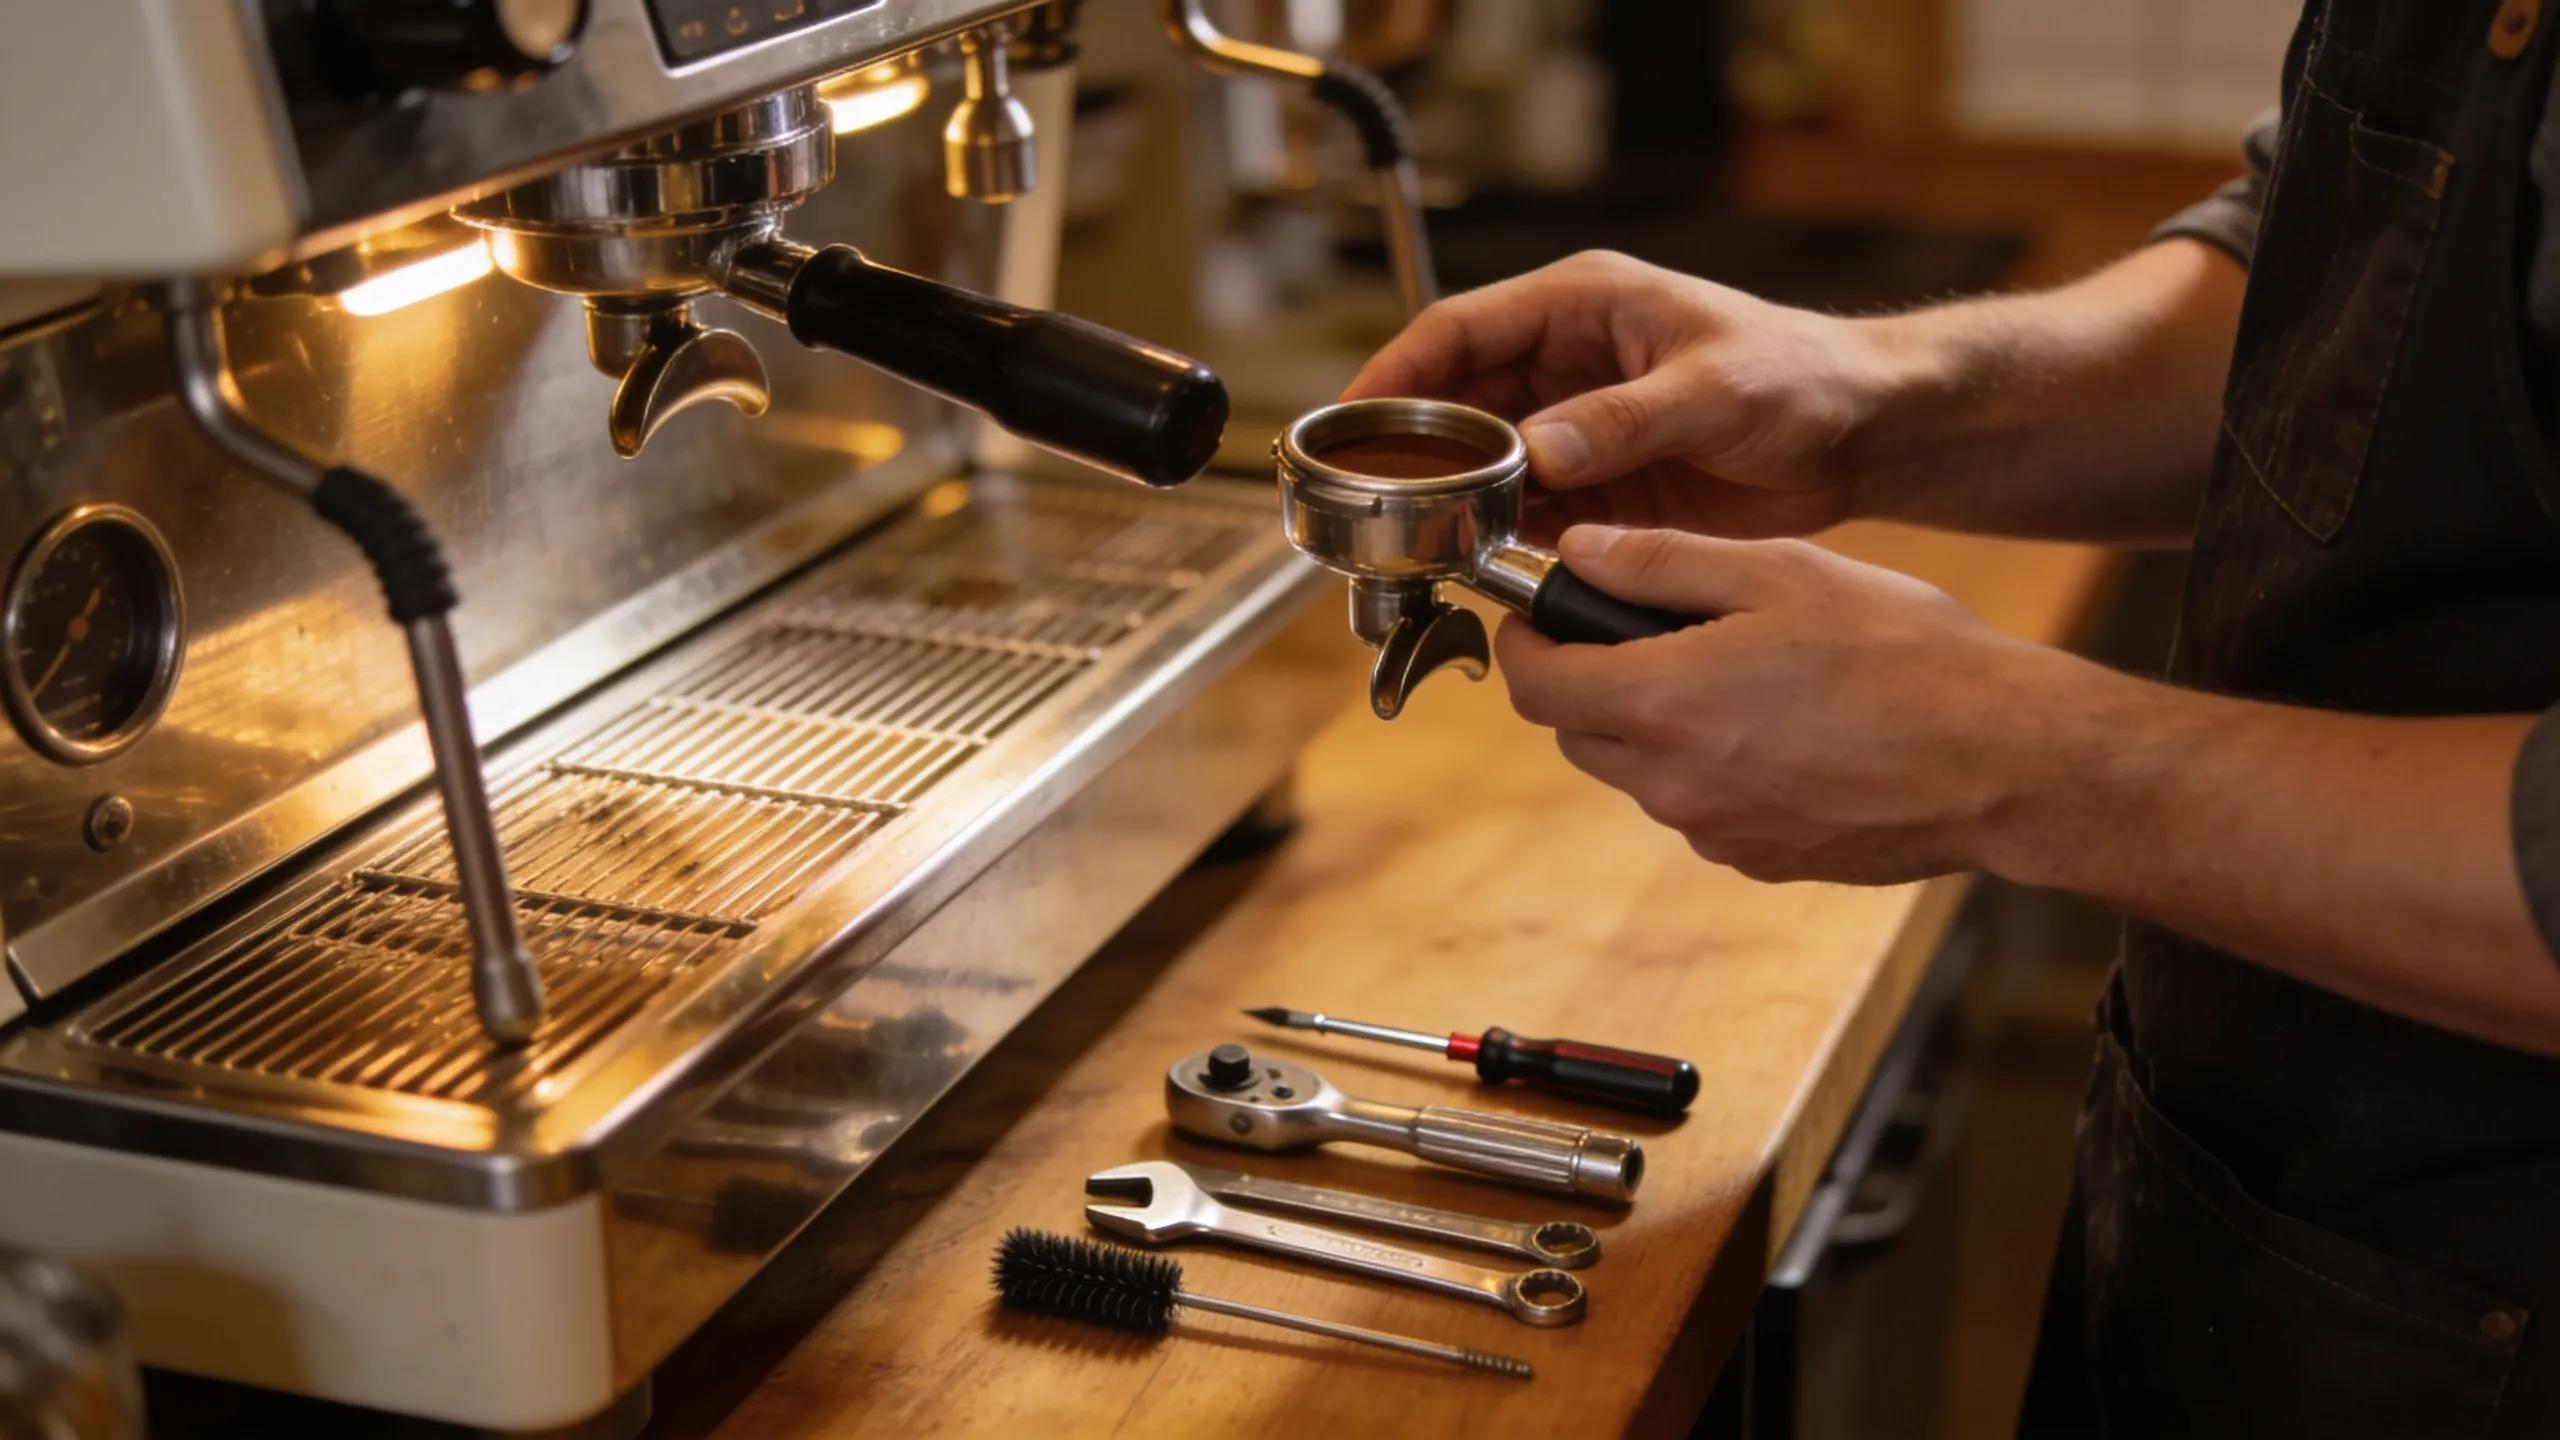
No-heat occurs when water fails to reach the ideal brewing temperature (90–96 °C), resulting from a thermoblock, heating element, or thermal fuse fault. Restoring reliable heat ensures consistent extraction, robust crema, and precise flavor profiles. Identifying symptoms leads directly into isolating which internal component needs attention.
What Are the Common Symptoms of No Heat in Espresso Machines?
When heating fails, you may notice:
Lukewarm Shots that never reach scalding brew temperature
Weak Steam Output or inability to froth milk properly
Extended Warm-Up Times exceeding manufacturer specifications
Thermal Fuse Resets or machine shutting off unexpectedly
GFIC Tripping power outlet or circuit breaker tripping
These indicators confirm a heating element malfunction or protective fuse trip, guiding you toward disassembly and testing.
Which Components Cause Heating Failures?
Espresso machines depend on precise heating assemblies. The table below highlights key parts, typical faults, and their impact on brewing consistency.
In most semi-automatic and super-automatic units, a faulty thermoblock or element prevents your machine from sustaining stable heat.
How Do I Fix No Heat Issues in My Espresso Machine?
To restore heating function, follow these precise steps:
Unplug From Electrical Outlet and Cool Down the machine fully before diagnosing internal elements. Remove water reservoir or shut off water supply.
Access the Thermoblock Assembly by removing the panels or access plate.
Test the Heating Element with a multimeter for continuity; replace if resistance is infinite.
Inspect and Replace the Thermal Fuse if it has infinite resistance; ensure the new fuse matches OEM specifications. Reset safety thermostat if equipped and find issues causing overheat.
Clean or Decalcify the Thermoblock with a vinegar solution or citric acid descaler if scale impedes heat transfer.
Reassemble and Calibrate by running a water-only cycle to verify temperature accuracy.
Completing these steps restores proper thermal performance and readiness for precise espresso extraction.
What Preventative Measures Keep My Espresso Machine Heating Properly?
Regular maintenance prevents heat-related breakdowns:
Descale every 6–24 months based on water hardness
Flush the thermoblock weekly with filtered and softened water
Use a quality water treatment system to reduce scale formation
Consistent care mitigates heating faults and supports reliable temperature control, preparing your machine for flawless pressure and flow next.
How Can I Fix Low or No Pressure in My Espresso Machine?
Low pressure—below the optimal nine bars—occurs when the pump, over-pressure valve (OPV), or gauge malfunctions, compromising extraction balance and crema volume. Restoring correct pressure improves puck saturation and flavor clarity.
What Are the Signs of Low or No Pressure During Espresso Extraction?
Look for these extraction symptoms:
Thin or Nonexistent Crema on your espresso puck (check grinder issues first)
Extended Shot Time longer than 25–30 seconds
Weak or Sputtering Flow from the portafilter spouts
Audible Pump Strain or gurgling during brewing
These cues indicate insufficient pump output or relief valve miscalibration.
What Causes Pressure Problems in Espresso Machines?
Pressure depends on precise mechanical components. The table outlines common failure points and their effects.
A clogged pump or drift in the relief valve setting can depressurize the system, impairing extraction dynamics.
How Do I Diagnose and Repair Pressure Issues?
Follow this diagnostic repair process:
Clean the Pump with manufacturer-approved detergent to clear debris.
Check Pump Pressure using a portafilter gauge attachment, only with machines with a 3-way grouphead solenoid/manual valve.
Adjust or Replace the OPV Valve to restore nine-bar output.
Calibrate the Pressure Gauge (most cannot be calibrated) or install a new indicator if readings remain inconsistent.
Replace Worn Pump Seals when leakage or loss of prime persists.
Executing these steps returns your machine to the correct operational pressure range.
How Does Pressure Affect Espresso Quality and Machine Performance?
Proper pressure ensures uniform water diffusion through coffee grounds, enhancing extraction yield and crema stability. Inconsistent pressure yields under-extracted, sour espresso or over-extracted bitterness. Maintaining nine bars supports smooth operation and optimal flavor.
What Are the Most Common Causes of Espresso Machine Leaks and How Do I Fix Them?
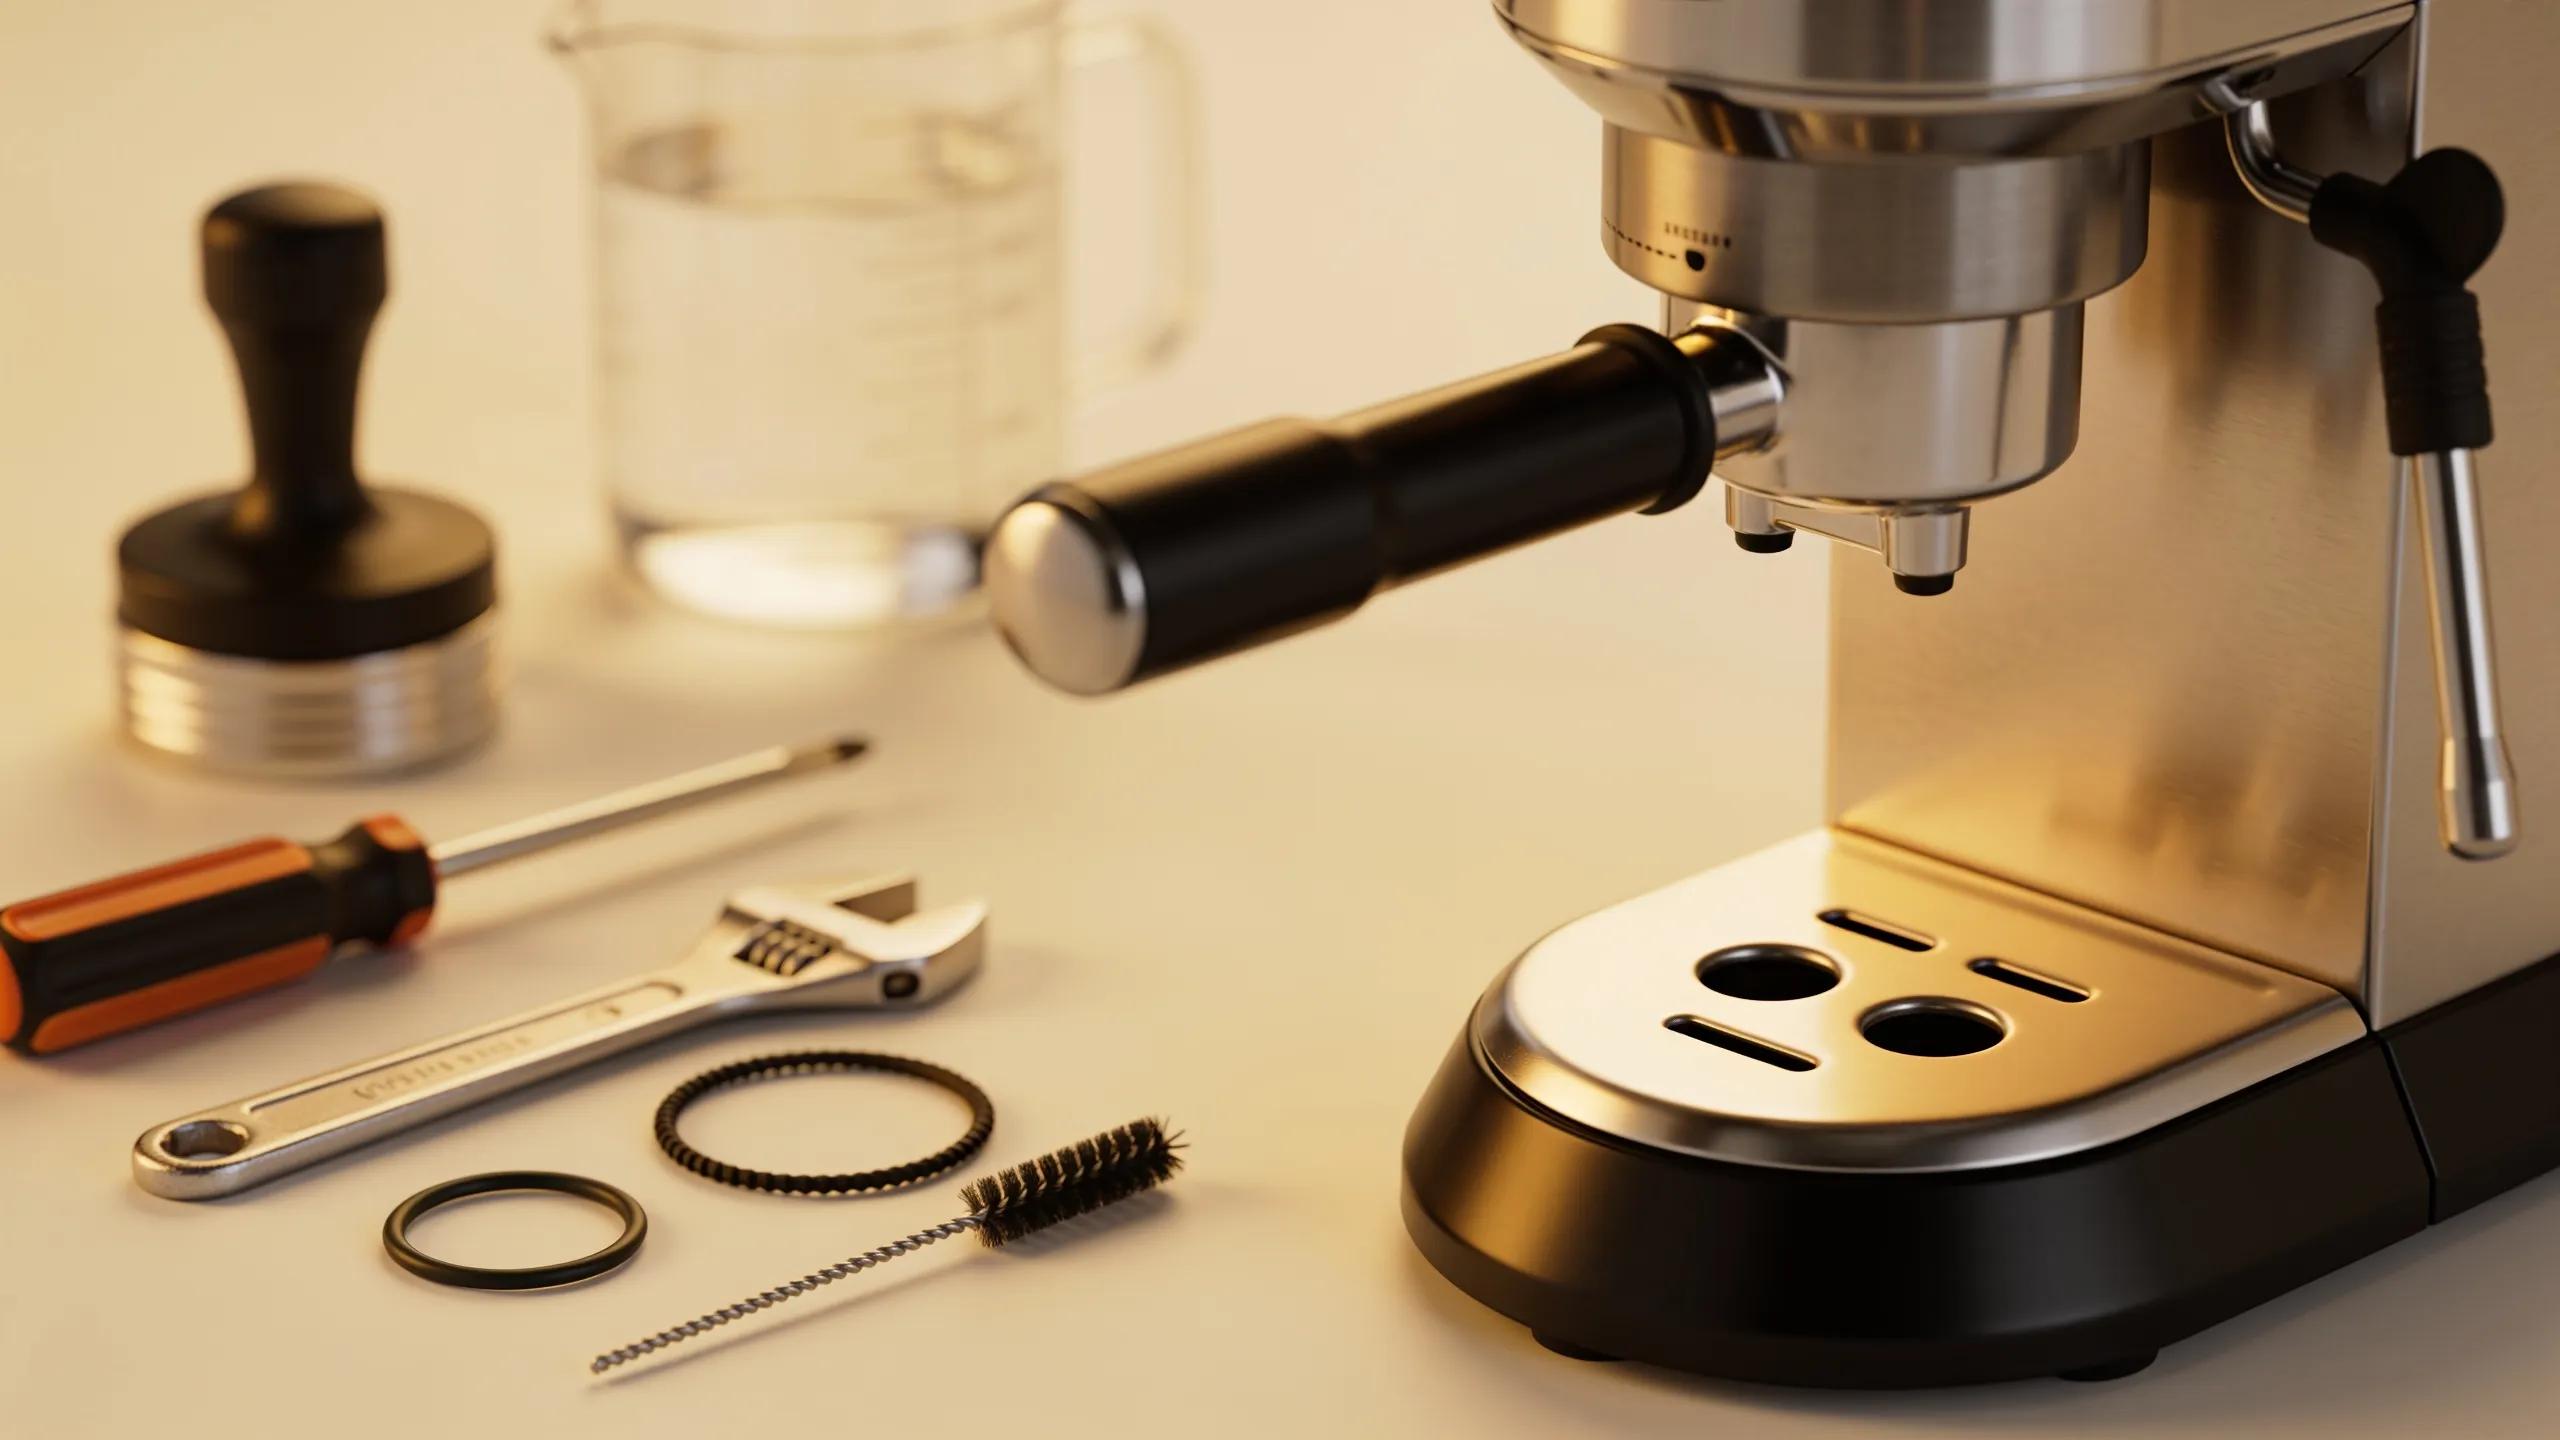
Leaks occur when water escapes group heads, boilers, or reservoirs, often due to worn gaskets, loose fittings, or cracked tanks. Sealing these points safeguards internal pressure and prevents electrical hazards.
Where Do Espresso Machines Typically Leak Water?
The primary leak locations include:
Group Head Gaskets around the portafilter cradle
Boiler Seams where scaling weakens welds
Water Tank Seals at fill-point connections
Water Lines and Fittings beneath the chassis
Pinpointing the exact source focuses repair efforts on the affected seal or component.
How Can I Identify the Source of a Leak?
Inspect systematically by:
Drying Underneath the Machine Exterior to reveal fresh drips. Stop use when leaking.
Running a Short Cycle to observe active leak points.
Applying Tissue to Seams to detect internal wee page. Place white sheet of paper under machine.
Pressurizing the System with water only to reproduce low-pressure leaks.
This diagnostic method isolates the culprit for targeted repair.
What Are the Effective Repairs for Common Leak Points?
Repair techniques vary by location:
Replace Group Head Gasket with a seal for pressure integrity.
After determining no limescale or water corrosion, Tighten or Reseal Boiler Fittings using food-grade thread sealant.
Install a New Water Tank Grommet if the reservoir seal cracks.
Swap Damaged Tubing lines.
Restoring watertight seals eliminates leaks and supports stable pressure and heating performance.
How Do I Troubleshoot Grinder Problems in Espresso Machines?
A consistent grind size and jam-free operation are essential for uniform extraction. Grinder malfunctions—motor stalls, burr wear, or blockages—undermine shot quality.
What Causes My Espresso Grinder to Stop Working or Jam?
Common jam causes include:
Foreign Debris or Hard Particles lodged between burrs stopping grinder motor or damaging burrs
Motor Overload from extended run time without rest
Worn Burrs creating excessive friction and non-consistent particle size
Bent Shafts after accidental impact (usually from dropping or shipping)
Clearing blockages and inspecting mechanical wear restores smooth rotation.
How Can I Fix Inconsistent Grind Size?
To recalibrate grind consistency:
Adjust the Grind Setting incrementally toward finer or coarser burr alignment.
Purge the Grinding Chamber after adjustments to remove residual grounds.
Test Brew a Short Shot to evaluate extraction time and adjust further.
Align Burrs per manufacturer instructions to ensure burr uniformity.
Precise calibration yields the 23–27-second extraction window ideal for espresso.
When Should I Replace Grinder Burrs for Optimal Performance?
Replace burrs when you observe:
Uneven Particle Distribution lacking uniform fines
Decreased Extraction Time with same grind setting
Grinder Overheating from friction under load
Manufacturer-recommended Usage Limits (e.g., 400-600 kg of beans)
Fresh burrs optimize grind uniformity, supporting balanced extraction and crema development.
How Do I Solve Brewing Issues Like No Flow or Slow Flow in My Espresso Machine?
No or slow flow typically stems from too fine a grind, clogged portafilters, blocked group heads, or pump failures, preventing even water distribution. Restoring unobstructed flow promotes uniform puck saturation.
What Causes No Flow or Slow Flow During Brewing?
Flow restrictions arise from:
Grind is Too Fine
Coffee Oil Build-Up in shower screens and valves
Scale Deposits narrowing water channels
Portafilter Basket Clogs from uneven grounds
Pump Impeller Wear limiting flow rate
Identifying these culprits directs cleaning or part replacement.
How Do I Clean and Maintain the Group Head to Improve Flow?
A thorough group head cleaning involves:
Backflushing with a blind filter and detergent every 50 extractions.
Removing and Soaking Screens in backflush solution to dissolve deposits.
Brushing the Shower Screen to clear residual oils.
Rinsing All Components under hot water before reassembly.
Regular group head maintenance ensures reliable flow for every shot.
When Is Professional Repair Needed for Brewing Flow Problems?
Seek expert service when:
Pump Replacement is required after impeller failure
Internal Valve Repairs need specialized tools
Persistent Clogging resists standard descaling methods
Complex internal failures warrant professional attention to avoid further damage.
How Often Should I Descale My Espresso Machine and What Is the Best Method?
Descaling removes mineral scale that insulates heating surfaces and clogs flow pathways. Regular descaling—every 6–24 months depending on water hardness—preserves heating efficiency and flow consistency.
Why Is Descaling Important for Espresso Machine Longevity?
Scale buildup reduces heat transfer, stresses heating elements, and restricts pump flow. Removing scale prevents:
Heating Element Burnout from insulation effects
Pump Strain from reduced water passages
Impaired Flavor due to altered water chemistry
Descaling underpins reliable performance and taste clarity. Too frequent descaling can damage components in an espresso machine.
What Are the Recommended Descaling Solutions and Procedures?
Use proven descalers and methods:
Commercial Descaling Powder containing EDTA or sulfamic acid. Certain types can damage certain metals
White Vinegar (1:1) as a household alternative, followed by thorough rinsing. Can damage certain metals.
Manufacturer-Approved Kits for brand-specific models
Selecting the right solution minimizes corrosion risks and ensures safe scale dissolution.
How Do I Perform a Safe and Effective Descaling Process?
Follow these steps for optimal results:
Mix Descaler per instructions and pour into the water tank.
Run a Descale Cycle by drawing water through the brew head and steam wand alternately.
Soak Components like portafilter and shower screen in the descaler reservoir.
Rinse Fully with multiple water-only cycles until no residue remains.
This systematic approach restores scale-free internal passages and efficient heating.
How Does Water Quality Affect Descaling Frequency and Machine Health?
Hard water accelerates scale formation, requiring more frequent descaling. Installing a water softening filter extends intervals, while filtered or bottled water can reduce both maintenance needs and corrosion risks.
When Should I Call a Professional or Consider Replacing My Espresso Machine?
Routine maintenance solves most issues, but complex malfunctions or aging equipment may demand professional service or machine replacement for safety and reliability.
What Are the Signs That DIY Troubleshooting Is Not Enough?
Seek expert help if you encounter:
Electrical Failures such as short-circuiting or power surges
Persistent Internal Leaks that resist gasket replacement
Major Boiler Repairs beyond typical maintenance
Repeated Component Burnout indicating deeper wiring or PCB faults
Professional diagnostics avoid safety hazards and ensure proper restoration.
How Can 1st-line.com Support Help with Repairs and Parts?
1st-line.com offers:
Expert Technical Assistance via FAQ support pages and YouTube videos
Genuine Replacement Parts for many manufacturers
Comprehensive Repair White Papers and video tutorials
Warranty-backed Servicing and maintenance kits at 1st-line.com
Our resources empower you to resolve issues confidently and keep your espresso machine operating at peak performance.
What Factors Should I Consider Before Replacing My Espresso Machine?
Evaluate these criteria when weighing replacement:
Age and Cumulative Repairs versus the cost of a new machine
Warranty Coverage and Service History for continued support
Technological Upgrades like PID controllers or built-in grinders
Usage Frequency in home or commercial settings
Equipment Age of 10 years or older if beyond minor self repairs.
Balancing repair costs against performance gains helps determine whether a new machine is the smarter long-term investment.
Espresso machine troubleshooting spans heating, pressure, leaks, grinders, flow, descaling, and repair decisions. Proactive maintenance and timely interventions deliver consistent crema, flavor depth, and machine longevity. Explore 1st-line.com for high-quality espresso machines, replacement parts, and expert support to elevate every shot you pull.